
Before Building a Wooden 3D Puzzle: Parts and Workspace
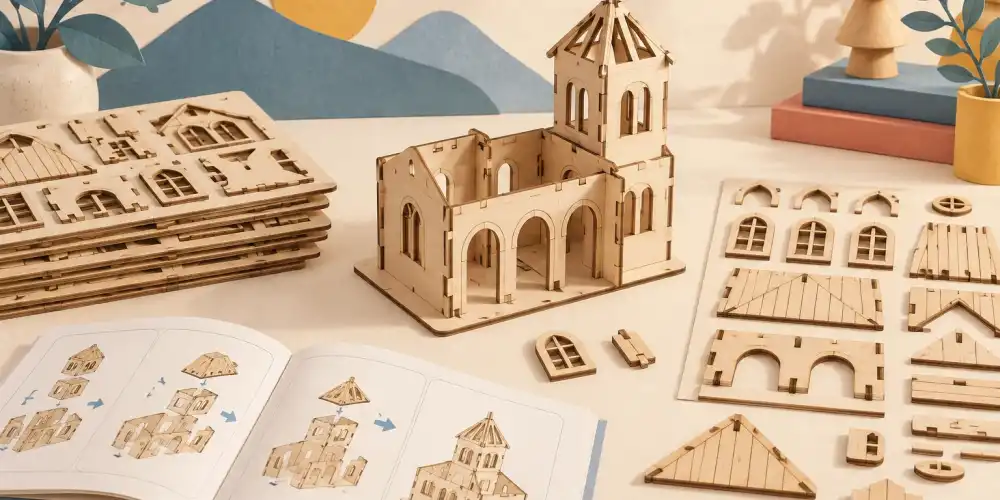
After opening the wooden 3D puzzle box, it might be tempting to immediately take out all the pieces. However, starting with a little preparation can reduce mixing up similar pieces and losing them on the table. The goal is not to finish quickly, but to easily keep track of which step you are on.
Check the contents of the box first
Open the guide; examine the piece sheets, the type of connections, and the recommended tools. Verify whether glue is needed from the product description and the guide. Not all wooden sets are glue-free. Do not start assembly with a child without checking the product's age and adult support information.
Divide the table into three areas
- Unused parts: Sheets and unopened piece bags not yet used.
- Current step: Only the pieces shown for the next section in the guide.
- Completed section: A separate corner or tray where nothing will be placed on top.
There is no need to buy a new organizer for this separation. A flat tray and separate boxes may suffice. Keep small pieces out of reach of small children and pets.
Track pieces by their numbers
Compare the number on the sheet with the drawing in the guide. Two pieces that look similar may attach in different directions. Separate the necessary pieces according to the instructions; do not force a connection that does not fit. First, recheck the direction and the previous step. If the use of cutting tools or sandpaper is necessary, do so only as recommended in the guide and with appropriate adult support.
Leave a small record for taking breaks
Mark the step you stopped at in the guide. Keep the pieces for that step separate, and take a photo of the completed section. For models using glue, wait for the drying time as per the manufacturer's instructions; moving an unfinished structure may distort the connections.
Selection note for the first set
Don't just look at the number of pieces. The size of the pieces, the fineness of the connections, the clarity of the guide, and the dimensions of the assembled model are also important. While reviewing wooden 3D puzzle and DIY models, consider both the workspace and the display area.
The cover image is an AI-generated concept illustration.
- Why Doesn't the Foam Gun Produce Foam? Troubleshooting and Proper Use Guide
- What is Ring Toss Water Game? Timeless Toy that Enhances Children's Attention and Hand-Eye Coordination
- What is a Bubble Gun? How to Use It? | Fun Summer Toy Guide | ToyFlyer
- The Most Fun Outdoor Games for Children to Play During Summer Vacation
- The Most Fun Gift Toys for Children: Water Game
- Why Is Dental Health Important in Children? 5 Reasons to Protect Milk Teeth
- How to Encourage Your Child to Brush Their Teeth? Fun Solutions